
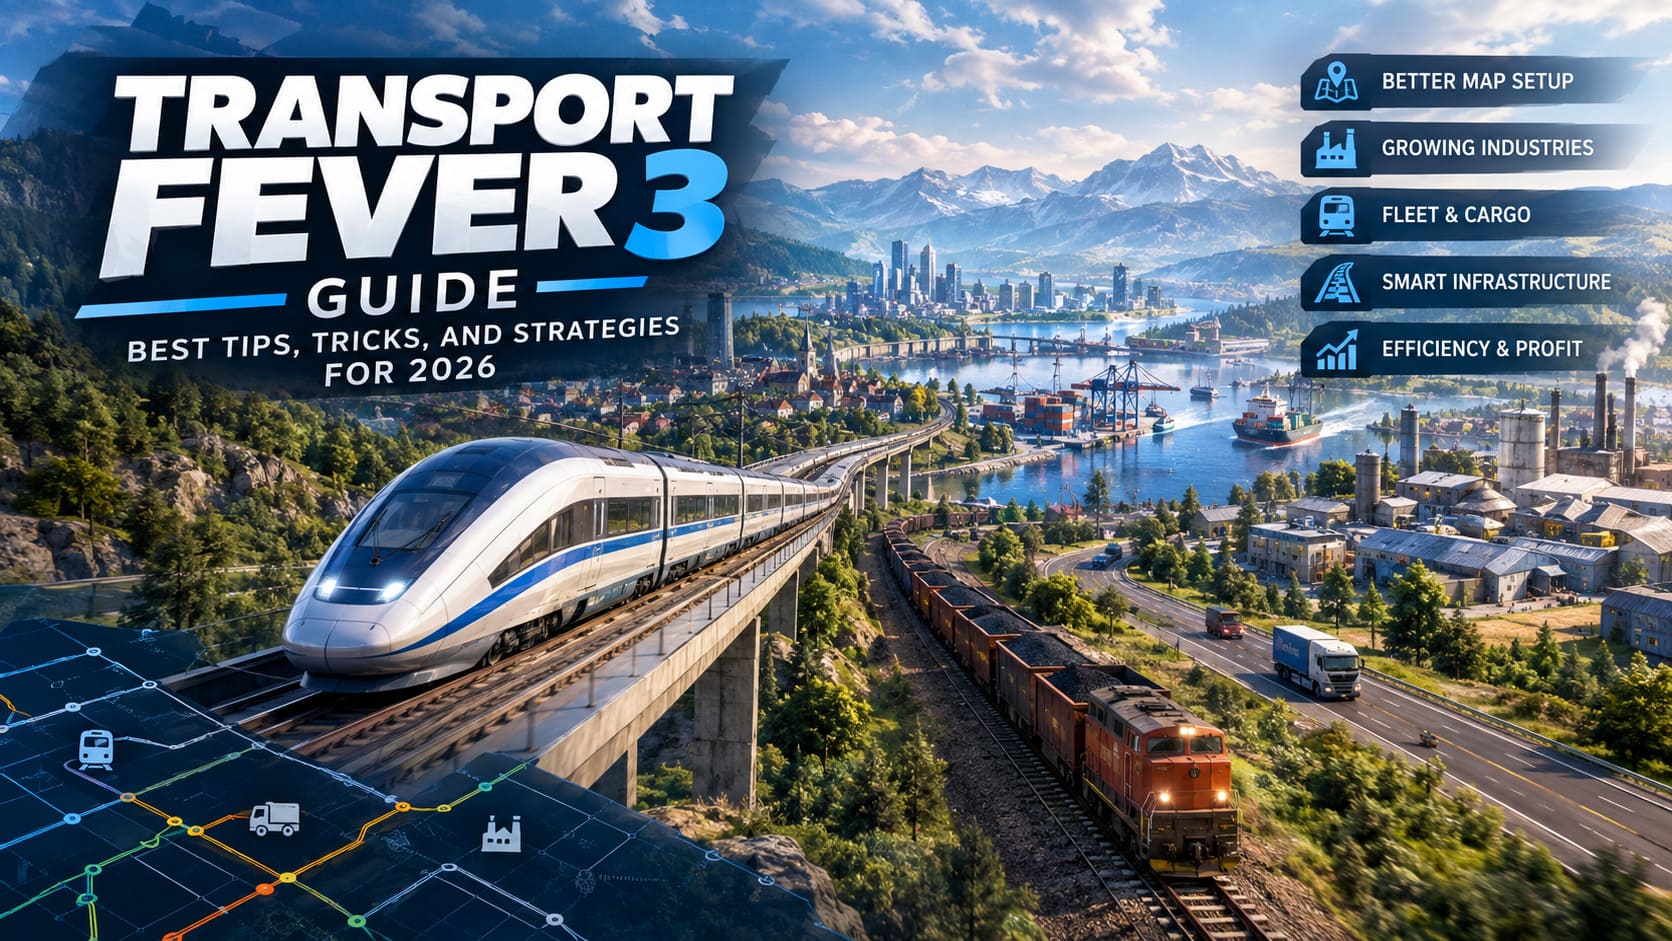
Transport Fever 3 Guide: Best Tips, Tricks, and Strategies for 2026
Every transport tycoon knows the moment. You zoom out, admire your sprawling network, and then notice a bullet train crawling behind a coal hauler at 20 mph while your passengers rage-quit the line. Ticket revenue tanks, and your “masterpiece” turns into a very expensive parking lot.
Transport Fever 3 from Urban Games and Paradox Interactive is out, and it punishes sloppy planning harder than the second game ever did. Factories physically grow, pathfinding is smarter, and the maintenance system will happily expose every shortcut you took. I’ve been through the community threads on Reddit and Steam and the early tycoon streams, and I’ve dumped my own hours into fresh saves. What follows is the stuff that actually moves the needle, without any fluff.
Before You Lay a Single Track: Map Setup Matters More Than You Think
Most people click “New Game,” accept the defaults, and start building. Bad move. Your map settings decide what kind of network you can even build once the fast trains show up.
Go big, but don’t melt your PC. If you want a proper country-sized operation, the Megalomaniac and Huge map sizes are where the fun is. They can be unlocked through the configuration files or the advanced options. Huge maps eat performance though, so keep town and industry counts sane. A giant map crammed with hundreds of nodes will turn your frame rate into a slideshow long before your trains hit top speed.
Try the 1:3 aspect ratio. A square 1:1 map sends traffic in from every angle, and long rail runs get cut off before they get interesting. The 1:3 format stretches the world into a long corridor, and that’s where high-speed expresses and heavy freighters finally get room to stretch their legs. It feels like real inter-city travel. Skip 1:5, though. The playable area gets so narrow that you’ll be fighting the terrain instead of building.
Set density to Sparse. Yes, it’s tempting to bury the map in towns and factories so you always have something to connect. Resist. Sparse still gives you dozens of active nodes, but with big empty gaps between them. Those gaps are what let a locomotive accelerate and hold speed. On a crowded map, your trains spend more time braking for the next junction than actually cruising.
| Setting | Recommended | Why it works |
|---|---|---|
| Map size | Huge or Megalomaniac | Room for real long-distance networks |
| Aspect ratio | 1:3 | Long corridors for high-speed running |
| Town density | Sparse | Open space for acceleration |
| Industry density | Sparse | Fewer bottlenecks, cleaner supply chains |
Industries Are Alive Now (And They Hate Being Crowded)
This is the change I’m most into. In older games a factory sat inside a fixed footprint like a sad little cardboard cutout. In Transport Fever 3, industries physically expand by adding plots such as warehouses, silos, and assembly areas around them, based on how well you supply them. Feed a factory well and it visibly grows. Neglect it and it shrinks. It’s a small thing that makes the world feel like it reacts to you.
The catch is that growth needs space. Leave a buffer zone around every industry. If you jam roads, tracks, or decorative assets right up against a factory, you cap its growth or make the sim bulldoze your nicely detailed landscaping to make room. I learned this the hard way after building a gorgeous station approach that the game promptly chewed up. Plan your track approaches with breathing room from day one.
Use the Stock Overview Like a Cheat Sheet
The new stock panel is criminally underrated. Click any factory and you get a breakdown of inputs and outputs. Click a specific material, zoom out, and the game draws lines to every place on the map where that material can be sourced or delivered.
That’s basically a free scouting report. Under-supplied markets and short cargo runs jump out immediately, and short runs are exactly what you want for quick early-game cash. Check this screen every time you’re wondering what to connect next.
Keep Your Cities Fed on All Three Fronts
Cities grow based on overall supply, and that supply splits into three buckets:
- Public transport satisfaction
- Commercial cargo delivery
- Industrial cargo fulfillment
If a town stalls, open its info tab and find the failing bucket. A minimum level of service across all three beats maxing out one and ignoring the others. Balanced cities grow more reliably, and bigger cities mean more passengers and more demand for your freight.
Rolling Stock: Stop Buying Speed You Can’t Use
Here’s the mistake I see in every beginner thread: someone buys the shiniest, fastest, most expensive locomotive and hooks it up to bargain-bin wagons. Then they wonder why the profit column looks like a crime scene.
A train only goes as fast as its slowest component. Pair a loco that can do 80 mph with boxcars rated for 50, and that train will never see 51. You’ve paid full price for horsepower you can’t use, plus the annual maintenance on it. Read the speed ratings before you buy anything. Always.

Boxcars and the Loading Speed Trick
Capacity isn’t the only number that matters on a wagon. In the early game you’ll often choose between general cargo cars and specialized boxcars. Some of these boxcars share the same top speed and capacity as their cheaper cousins but load twice as fast. Halving your dwell time at a platform means trains spend less time idling, lines run more frequently, factories get steadier deliveries, and your profit on short and medium routes goes up. It’s one of those small edges that quietly stacks across dozens of trains.
The Stagecoach Beats the Droski
Early passenger routes are all about stretching a tiny budget. Community testing and tier lists lean hard toward the stagecoach over basic horse carriages like the Droski, provided demand is steady. Sure, the stagecoach costs more to run each year. But it hauls more people, goes slightly faster, and has a better comfort rating. Over time that adds up to far better revenue, which makes it the best pick for getting your first city-to-city commuter line off the ground.
| Vehicle | Running cost | Capacity | Speed | Comfort | Verdict |
|---|---|---|---|---|---|
| Stagecoach | Higher | Larger | Slightly faster | Better | Best early passenger pick |
| Droski (basic horse carriage) | Lower | Smaller | Slower | Lower | Fine only for very tight budgets |
Infrastructure: Where Small Mistakes Become Regional Gridlock
Everything works great until it doesn’t. A tiny oversight at one junction can snowball into a jam that paralyzes half your map, and the worst part is you usually don’t notice until it’s already a mess.
Put maintenance near stations, not on main lines. Transport Fever 3 adds dedicated maintenance structures that keep your fleet healthy and cut down on breakdowns. The instinct is to drop them in the middle of a long main track so they cover everything. Don’t. As trains get faster, they spend very little time on open track and a lot of time sitting at terminals. If your maintenance coverage overlaps busy stations, vehicles get serviced while they’re already loading passengers or swapping cargo. That keeps your high-speed lines completely clear for actual traveling.
Give trucks their own lanes. Road freight is still the backbone of inner-city distribution, and truck depots are famously gridlock magnets. Never funnel multiple high-frequency truck lines through a single entrance. Use the modular station editor to build separate entry and exit loops for different cargo types. Raw materials coming in and finished goods going out should never fight over the same intersection. Split them and the lockups mostly disappear.
Size your stations to your trains. The modular scaling tools exist for a reason. If your railway station is as long as the town is wide, you’ve got no room left for proper approaches, switches, or bypass loops, and it looks ridiculous too. Build platforms to match the actual length of the trains you plan to run instead of maxing out every station out of habit.
Train Hierarchy: Express, Local, and Freight Shouldn’t Share a Track
Running one train on one track is easy. Running dozens at different speeds on a shared network is where the real game starts.
Picture a bullet train stuck behind a slow coal hauler. Passenger satisfaction drops, line frequency falls apart, and ticket revenue takes a nosedive. The fix is simple in theory: build dedicated express and local lines. Bypass loops or parallel tracks for fast services are worth the cost.
When terrain or budget makes extra track impractical, use passing sidings with entry and exit signals. The key detail is signal placement. Put them far enough back that a long freight train can pull entirely off the main line and onto the siding. The express then overtakes without ever dropping below cruising speed. Place the signals too close and the freighter sticks out into the main line, which defeats the whole point.
Make Your Hubs Actually Connect
At a major rail hub, your local bus, tram, and light rail networks need to line up with the trains. Put bus stops and tram loops right outside the station doors. If passengers have to trek across a busy intersection to transfer, the routing algorithm decides the trip takes too long and they hop in their cars instead. Now your streets are jammed with traffic you caused. Short, clean transfers keep people on your network and off the roads.
Day-One Cheat Sheet
Bookmark this and run through it at the start of every new save:
- Setup: 1:3 aspect ratio, big map size, sparse industry density
- Space: Leave open ground around factories so they can grow
- Matching: Wagon speed ratings should equal or beat your locomotive’s top speed
- Logistics: Use the stock overview to trace inputs and outputs across the map
- Maintenance: Cover busy stations, not open high-speed track
- Layouts: Separate express passenger lines from slow freight with parallel tracks or passing loops
Is Transport Fever 3 Worth Buying? Launch Review and Community Verdict
Final Thoughts
Transport Fever 3 rewards patience and planning more than raw spending. Most of the pain new players run into comes from three things: cramped maps, mismatched trains, and mixed traffic on shared rails. Fix those before you start, and the rest of the game gets a lot smoother.
The best part of this series has always been that moment when a network you designed finally hums along without your input, trains sliding past each other on separate tracks, cargo flowing, cities swelling. Keep tweaking your lines, keep an eye on station capacity, and don’t be afraid to rip out a bad junction and start over. Every veteran has done it more than once.
Now go build something that makes money.


